I have gotten a few questions on how to dye onesies (or any other fabric of your choosing) so I thought I'd put together a little tutorial. Please note, I am NO expert nor do I promise your results will be perfect. This is just what has worked for me. Ok, disclaimer over, let's get started:
DYES:
Decide what kind of dye/color you want. There are many different types but I tend to use RIT or Dylon. RIT tends to be easier to find but some find Dylon easier to use...to me there's no difference. RIT comes in liquid or powder form, Dylon is powder. Pick one of each and experiment then decide for yourself which one you prefer. Anyway, just pick one.
FABRIC:
Now your fabric. I dye mostly onesies, child's sized t-shirts and burp cloths. One packet of dye is good for 1 lb. of fabric but I have NO idea what that means so here's how I gauge it. One packet of dye is good for a maximum of three onesies OR a t-shirt and a onesie OR two burp cloths OR two onesies and a burp cloth OR a t-shirt and a burp cloth. If you're feeling up to it, go ahead and weigh a lb. of fabric and go with that.
At this point you can follow the directions on the box/packet and you'll be fine or you can keep reading to see how I do it. Oh, you're still reading which means you really want to know my process. Well, alrighty then.
PROCESS:
1. Get a bucket or use your sink (but know that the dye might stain) oh and some gloves are helpful.
2. Use HOT water (the hotter the better) to dissolve 4tbsp of salt and your packet of dye. I use some old tongs to stir the water just fyi.
3. Add more hot water to your bucket until it's about 1/2 to 3/4 full.
4. Rinse your fabric before putting it in your dye.
5. Here's the most crucial step: AGITATE your fabric (with the tongs or your gloved hands) for at least 15 minutes. Yes, this is not fun, but it will keep your fabric from being splotchy in the end.
6. Once properly agitated, you can leave your fabric in the dye bath for at least 30 minutes longer, stirring occasionally. I've forgotten about it for a couple of hours before and it was fine. The first 15 minutes are the most important.
7. Drain the bucket and rinse your fabric out in hot water until it runs (almost) clear. Then rinse the fabric in cold water.
8. Wash with like colors in hot at least once before adding any appliques. Once I add an applique I usually wash in cold a few more times with similar colors before mixing it in with the rest of baby girl's clothes.
Yes, it seems like a lot of information, but it really is an easy process. Once you do it a few times, you'll figure out what works best for you. It's not as time consuming as you might think...remember the first 15 minutes of agitating are the most crucial. Also, I always try to dye on days I need to do laundry...to avoid having to do extra random loads to wash what I've dyed. Ok, long post but hopefully it's helpful. Have fun!
Showing posts with label tutorials. Show all posts
Tuesday, February 22, 2011
Friday, October 22, 2010
Fabric Flowers
I'm jumping on the fabric flower bandwagon.
Why not? They're everywhere these days, not to mention cute, and as I've recently discovered, very easy to make. I found a couple of tutorials that do a great job of explaining how to make these bad boys. My Sparkle has an easy tutorial to follow, Shanty2Chic has this option as well as this option, and Simple Analogy has a sewn option should you feel like busting out the needle and thread. I took all the info from these tutorials and mostly followed the instructions but pretty much making it up as I went along.
I started with a long strip of fabric...mine was about 16 inches long and about 2-3inches wide.
I folded it in half, glued it down, and rolled it a few times to get it started...
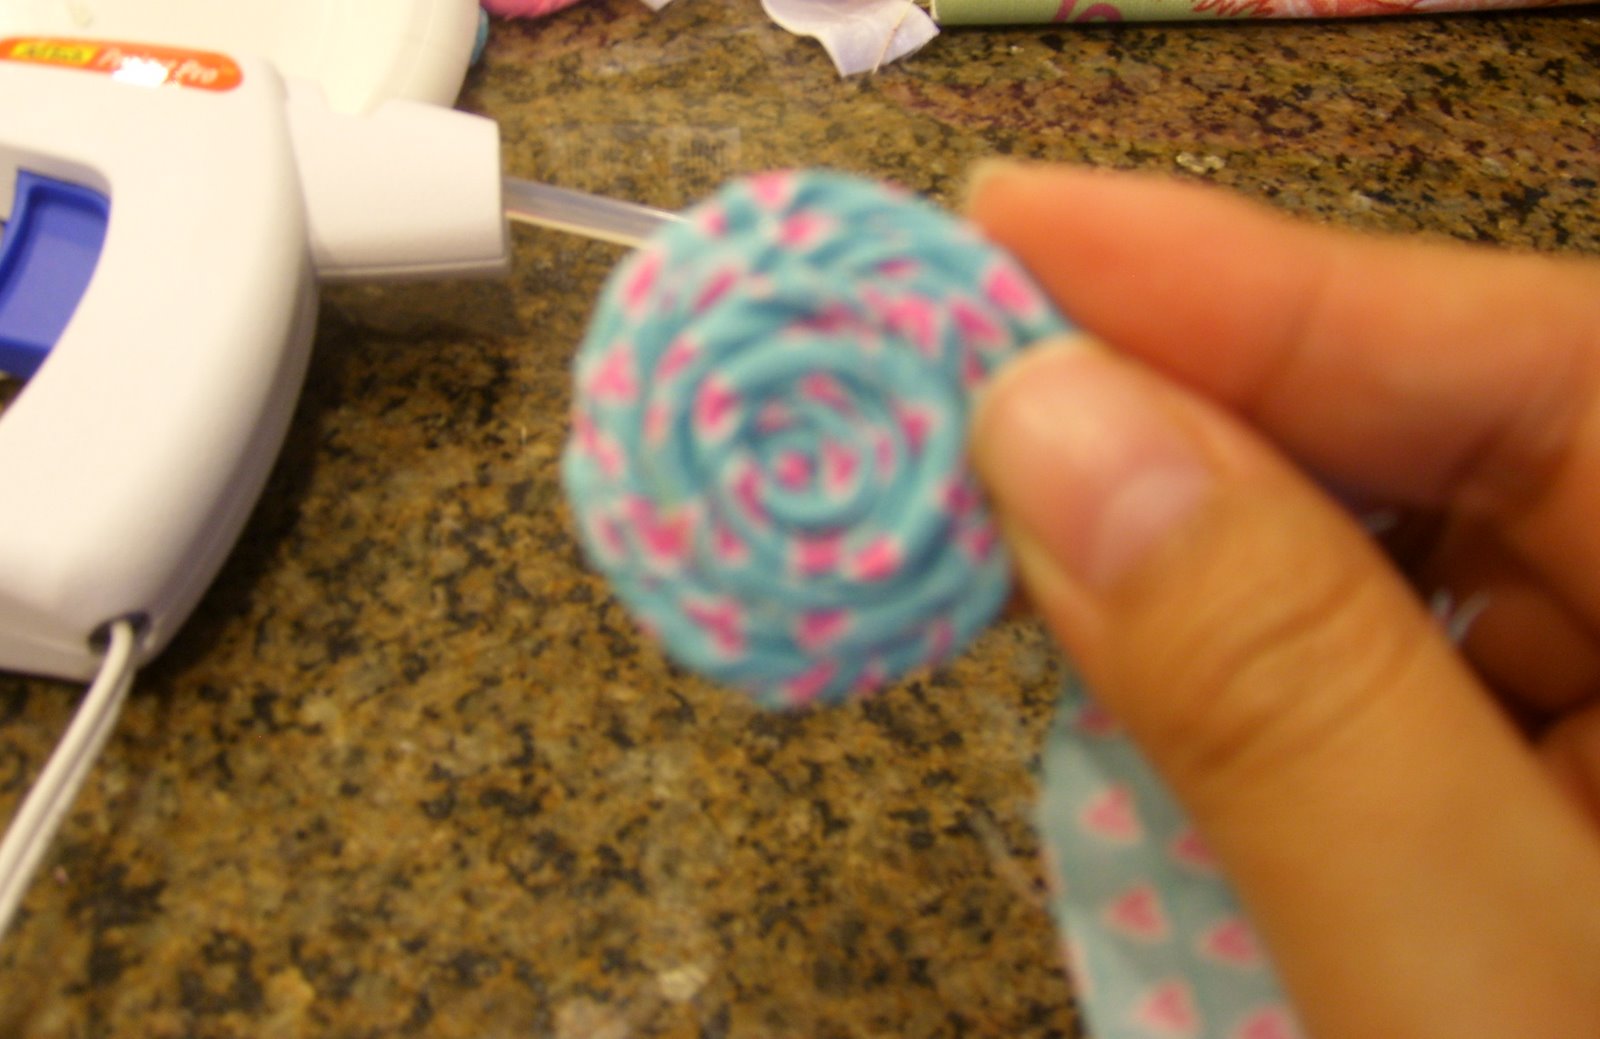
Then I started twisting the fabric as I rolled it around itself. I used a dot of glue every now and then to secure the layers (the tightness of the twisted fabric will determine the fullness of the flower). I kept going around and around until I got the size I wanted.
I glued them to the stretchy fabric I was using as the headband (I found the white material at Joann's in the lace aisle) and VOILA! something cute to stick on this cutie pie...
Oh the possibilities are endless! I'm sure you'll see them popping up on other projects I'm working on.
Why not? They're everywhere these days, not to mention cute, and as I've recently discovered, very easy to make. I found a couple of tutorials that do a great job of explaining how to make these bad boys. My Sparkle has an easy tutorial to follow, Shanty2Chic has this option as well as this option, and Simple Analogy has a sewn option should you feel like busting out the needle and thread. I took all the info from these tutorials and mostly followed the instructions but pretty much making it up as I went along.
I started with a long strip of fabric...mine was about 16 inches long and about 2-3inches wide.
I folded it in half, glued it down, and rolled it a few times to get it started...
Then I started twisting the fabric as I rolled it around itself. I used a dot of glue every now and then to secure the layers (the tightness of the twisted fabric will determine the fullness of the flower). I kept going around and around until I got the size I wanted.
I glued them to the stretchy fabric I was using as the headband (I found the white material at Joann's in the lace aisle) and VOILA! something cute to stick on this cutie pie...
Oh the possibilities are endless! I'm sure you'll see them popping up on other projects I'm working on.
Thursday, May 27, 2010
DIY Wall Art
It's finally done.
I'm still on the everlasting quest to get our home decorated. Perhaps some day we will be finished. Until then, here is the latest project I did to bring in some life to our entry way wall. Now the wall is VERY tall, umm somewhere around 30 feet...just kidding...it's more like 15 feet tall and 12 feet wide. I wanted a bold statement on the wall since it's the first thing you see when you walk in the house, plus the wall would just look so bare with nothing on it. Bri suggested a mural of himself playing baseball...umm, thanks, but no thanks. I looked in to big pieces of canvas art but they were just too darn expensive so I figured it was time to get creative.
First I had my dad make us these frames (they measure 3x5 feet each) and I bought some heavy fabric (similar to canvas) at Joann's...40% off baby...sa-weet!
Then Bri and Istripped our fingerprints off stretched the fabric and covered the frames. Note to self: DON'T wash the fabric before hand as it might shrink and cause minor major frustration when covering a frame that is now too big. A lot of sweat and tears later, we figured it out and ended up with these:
Next step was to trace the pattern on to the frames. I used the template I found here and borrowed a projector from school to make the image large enough for the canvases. Once the print was traced, I painted the picture with black paint and let it dry. Now our bare wall has a little bit of life with these bad boys:
I know I was supposed to show you the progress on the laundry room but I may have gotten a bit distracted by this project. Oops. More on the laundry room another day...
I'm still on the everlasting quest to get our home decorated. Perhaps some day we will be finished. Until then, here is the latest project I did to bring in some life to our entry way wall. Now the wall is VERY tall, umm somewhere around 30 feet...just kidding...it's more like 15 feet tall and 12 feet wide. I wanted a bold statement on the wall since it's the first thing you see when you walk in the house, plus the wall would just look so bare with nothing on it. Bri suggested a mural of himself playing baseball...umm, thanks, but no thanks. I looked in to big pieces of canvas art but they were just too darn expensive so I figured it was time to get creative.
(big wall)
I did more "research" for ways to make inexpensive wall art and finally stumbled across this project at All Things Thrifty. Aren't they so cute? Her whole site is full of great ideas...just wish I had more time to try them all. Her wall art consisted of three panels of wood that her husband cut the design out of then she backed with fabric. A bit ambitious for us rookie tool users so I went in a slightly different direction.First I had my dad make us these frames (they measure 3x5 feet each) and I bought some heavy fabric (similar to canvas) at Joann's...40% off baby...sa-weet!
Then Bri and I
Next step was to trace the pattern on to the frames. I used the template I found here and borrowed a projector from school to make the image large enough for the canvases. Once the print was traced, I painted the picture with black paint and let it dry. Now our bare wall has a little bit of life with these bad boys:
(paint may still be slightly wet...what can I say, I have no patience)
Pretty cool eh? Total cost for this project was about $65 which is still kinda pricey, but definitely less than what I would have paid to buy three pictures of that size. Here's another look.Before (from the landing on the stairs):
After (from the landing on the stairs):
These pictures don't really do justice to the actual size of these suckers. To put it into perspective, each piece is almost as tall as me! Yeah, yeah, I'm not that tall but whatever. They are life-size. Love it though! :) I know I was supposed to show you the progress on the laundry room but I may have gotten a bit distracted by this project. Oops. More on the laundry room another day...
Saturday, May 08, 2010
DIY Framed Mirror
Yesterday I promised to show you the project I worked on and am so so excited about...
Well, when we moved into our house we were lucky enough to not only have big bathrooms, but big mirrors in those bathrooms. You know the kind. They are the builder grade mirrors that take up the whole wall above the sink. You know, that kind. Nothing fancy, but large and in charge.
This is the smallest of the 3 mirrors in the downstairs bathroom. You get the idea though...
Well we were lucky enough to have 3 of them in our house. I contemplated taking them off the walls and putting up framed mirrors but figured that would be such a tedious project. Besides, those framed mirrors don't come cheap! Well after some blog searching, discussion with creative neighbors, and scheming, I decided to just work with what I had and build my own frame.
So, I did. I based my "plan" on these two tutorials I found here and here. I trekked over to our local home improvement store and found the molding/trim combo that I liked best, picked up some liquid nails for mirrors, and headed home.
Here's the molding/trim before I cut it:
This is after they are cut and primed, just waiting to get painted:
Painted and ready to go!
Liquid Nails...not too close to the edge or else you will be able to see it in the reflection of the mirror:
It wasn't a difficult project, it just took some time to wait for the paint to dry. Here are the specs:
- molding: $15
- liquid nails: $6
- paint and primer: I already had at home but it's about $3 per can
- time: about 2 hours from start to finish
And the results? Ta Daa!:
I think it's FAN.TAS.TIC.!! It gives it that "extra" touch that it was missing and I think it looks so much better than just a mirror glued to the wall. Definitely more of a custom look than before. Whaddya think? And I made it all my myself! Now I just need to get B excited to help me do the upstairs mirrors. Those bad boys are too long for me to do by myself.
Linking to:
Linking to:
Subscribe to:
Posts (Atom)