Showing posts with label before/after. Show all posts

Wednesday, November 14, 2012

Marisa's Mini Makeover...Belated Edition


Haha, so I realized while posting the Soto Family session on my photography blog that I never finished this post about the makeover we did in Marisa's family room. I posted a sneak peek here...in January...(oops) but I never posted the full reveal. In an effort to save time because I'm just too lazy busy right now, I'll post the before and after pictures here and share with you the full story she shared on her blog HERE.

 BEFORE:

AFTER:

Seriously go check it out. It's quite a before and after and we she did a TON of work and I must say I'm so proud to be a part of that awesome project!! Now if only I could find the energy and creativity to start working on the new nursery! Haha.


Tuesday, July 26, 2011

Before & After: Laundry Room

So it's not really a huge transformation but it's one of my favorites so far. Not necessarily my favorite to work on but more the end result. Here's a reminder of what it looked like before:

builder white and boring...

addition of DIY laundry boxes and a fun rug... 

It sat that way for a few months a couple years until a few weeks ago. My parents came up and my rock star of a dad finished what we started so long ago. A few pictures of the process:

paint plus the beadboard

then we added the trim

after caulk and more paint

and the finished product


It still needs some artwork and accessories but it will have to do for now! Another thing to cross off the list!

Tuesday, July 05, 2011

Projects, Projects, Projects

I'm slowing making progress on "the list." Last week I finished framing the rest of the bathroom mirrors, finally washed/dried/put up the towels in the upstairs bathroom, started painting some accessories, and finished baby girl's party invitations. Geez, what a busy week!

For the bathroom frames I did them the same way I did my downstairs bathroom, but this time I glazed the paint. I used this tutorial for the glazing process and kinda made it up as I went along. I think it gives the frames a nice aged/rustic look while highlighting the details of the wood. Ha, it actually sounded like I knew what I was talking about right then, didn't it?! I just thought the glaze would look better than plain white and I didn't want a completely different color in there! A quick recap of some of the accessories I worked on:

These boxes were fun to do. Here's a "before" of the lovely things:

And here's an "after":

I used my trusty primer and paint and just went to town. 

I took off the hardware so I didn't have to tape it off, 

taped it inside the lid so I didn't lose pieces, 

then primed and painted. New boxes, in no time. 

I decided to get "fancy" and add stripes to one so I had an extra step of taping it off once the first coat was dry then painting the top coat a different color. 

I know, such a rebel. I love how they turned out though.

This bathroom is just about complete. I'll post those pics soon! Next up, front room curtains. Stay tuned!

Thursday, June 23, 2011

One Thing Done

If you missed my rant post about the happenings around the house, check it out here. Since I was able to vent, I found some motivation to start checking a few things off "the list." Not sure if you remember this post where I decided that I wanted to finish the guest room for under $100? Probably not since it was forever ago...like November! Anyway, since then here's what's been done:

Making the bed & finding lamps to use (from the stockpile collection in storage)
 
Putting up curtains from Ikea
yes, I know I need to iron them but I'm too lazy busy! :)

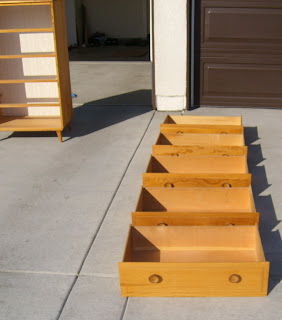
Refinishing an old armoire we had in the garage
(yes, the knobs on the door are not on yet...we need shorter screws!)

I know, all this time and that's it?! Don't worry, it's still a work in progress. I will have more updates as I finish them. Until then, here's a quick before and after of the armoire:

the back is removed to paint the insides...

the piece was originally a dark cherry color...

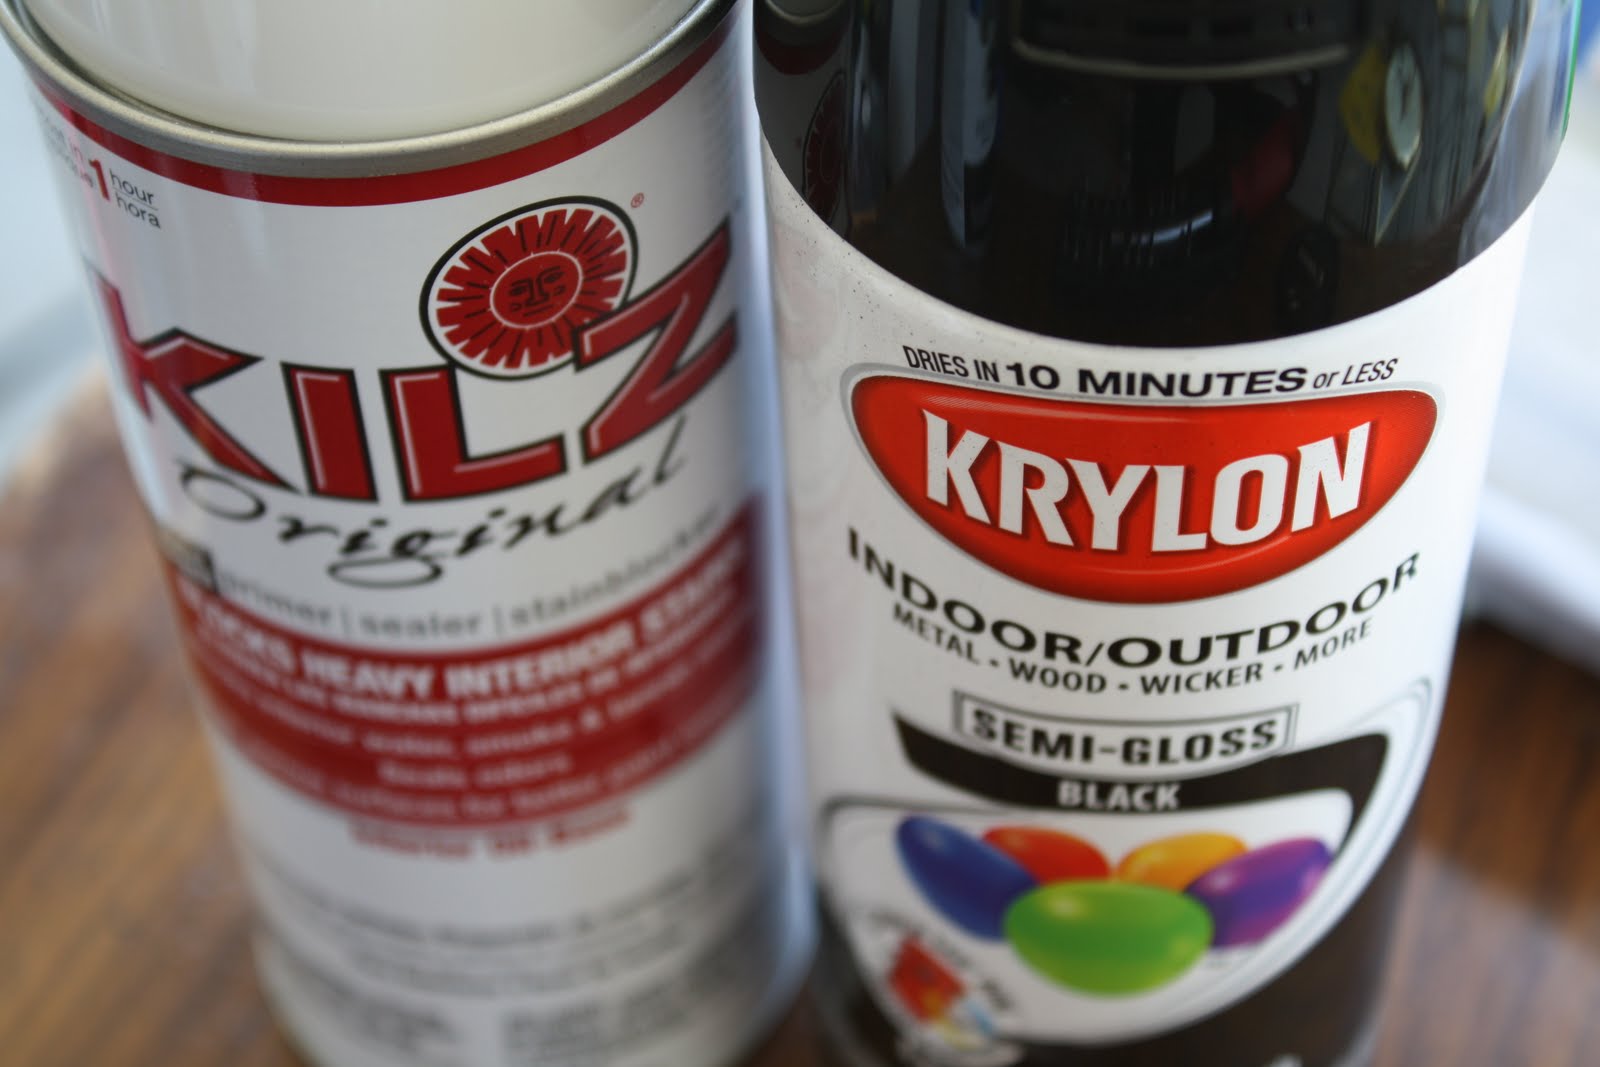
the supplies we used for the transformation...

another look at the piece (without the knobs)...still debating it being angled or flat on the wall...


So, what do you think? I'm still below my $100 budget so that's good news. Ok, I'm off to do more projects...

Sunday, September 05, 2010

Project Bathroom

I told you last week I was working on another project. Well, I had hoped to reveal the final product last weekend, but that clearly didn't happen. So I figured with the long weekend Bri and I could knock it out today and have the big reveal tonight, but that didn't happen. We definitely made progress but it's not completely done yet. Baby girl decided she didn't want to nap at.all. today and wanted to be entertained all day. I swear she knew that I really wanted to finish the bathroom project and sabotaged my efforts. Oh well, spending time with her is always more important. Although the control freak in me is itching to have a completed project pronto!

Anyway, here is part of the bathroom before we started (I was originally gonna paint it red...)
 Looking into the shower/toilet area (they are separated from the sinks by that door)

Here is what it looks like after we worked on it today. I wanted the "board and batten" look without the big price tag :) so we did it the "cheap" way.

The view from the shower


It's coming along nicely but we have a ways to go. I'll hopefully be able to at least show you the finished wall this week sometime. Oh and I'll post the tutorial on how to create the look the cheap-o way! :)

Enjoy your day off!

Friday, May 07, 2010

Before and After: Garage Sale Dresser

So I finally finished re-doing the dresser! Well technically it's been finished for a while but as I mentioned here, I had a slight issue with the knobs. Anywhoo, it's now complete (and looking much better I might add).

Remember the "before"? How could you forget this lovely thing?!:

And here's the "after"
She's gorgeous isn't she?! You can't really see the crystal knobs but they are so pretty! I love how simple the dresser is but with a hint of class...what a gal! Now I need to find a room that she can call home.

I can't wait to show you what I worked on today!! I'm so excited. I'll post it tomorrow after the paint is dry and the glue is set...

Wednesday, March 24, 2010

Sneak Peek: Next Before and After Victim

Isn't she just a beauty? Hahaha, just kidding!


We picked up this dresser, two night stands, and some snowboarding boots for B at a garage sale...all for a whopping $40! Not bad, eh? When you're trying to fill as many rooms as we have, one must be thrifty as well as creative. I knew we could do something with this bad boy that it would make it a bit more attractive. Well the time has come. Our next re-do victim. I'll keep you posted on its progress. Until then, you'll just have to look at these and try not to cringe!


I've also been tossing around ideas for baby girl's room. I think I've narrowed it down but we'll see. The plan is to finish the guest rooms then tackle her room...think I'll run out of steam first? I'd place bets on it!

Tuesday, March 09, 2010

Before and After: The Banister

We have been in our new house almost a year and I still can't believe that I'm not finished decorating it. Now for those of you who have been to our house you know what a daunting task that is! The house is big. I'm not bragging, just letting you know. Large. Many rooms. Infinite possibilities. Limited budget. Short on time. I'm hoping to get the whole house most of the house done by the end of the year but until then here are a few pictures of my favorite project so far.

We bought the house brand new so everything was builder white! I hated the color of the railing and seriously thought twice about whether or not it was a deal breaker. Come on, it's HUGE plus it was u.g.l.y.!

View from the entryway

From the upstairs...don't mind the builder's plastic, we've removed it since then!


I told myself that if we did indeed buy the house that was the first thing we would change! And boy, did we. Now I don't have any pictures during the process but I will just tell you that it was a BIG task. Not as big as it could have been, but BIG nonetheless. I think I tried to quit a few times during the sanding process but thanks to my awesome hubby, we pushed through.

First we sanded the darn thing. I hear they make these awesome electric hand sanders but we're old school and we used good 'ol elbow grease! Then you must clean the awful mess it makes so as not to get any of the dust in your stain. Next comes the staining. This was the scariest part for me. I mean, it's not like you can just "undo" in case you mess up. Anyway, we used Minwax Wood Finish in Jacobean.

Nice mess!


A couple of coats and touch-ups later, our railing/stairway/banister (really, what's it called?!) looks like this:


Isn't it SOOO much better? I ♥ it!

My ultimate goal is to rip up the carpet and do the stairs and landing. Oooh won't that just be gorgeous?! *Ouch* I think my wallet just cringed. First things first. That room straight ahead in the above picture is the baby's room. Stay tuned for its transformation!
Related Posts Plugin for WordPress, Blogger...