Are you just as excited about this reveal as I am?! Now for those of you who just want to see the end result, here's a before and after picture of the wall it's on.
For those who want all the deets, keep reading!
I started with this tutorial and went shopping for my supplies:
- 8 packages of wood shims
- 2 bottles of wood glue/gorilla glue/liquid nails (whatever you decide)
- stain or spray paint of your choosing
- 14" round mirror
- 1/4" plywood, cut into a circle
- D-hooks or picture hooks
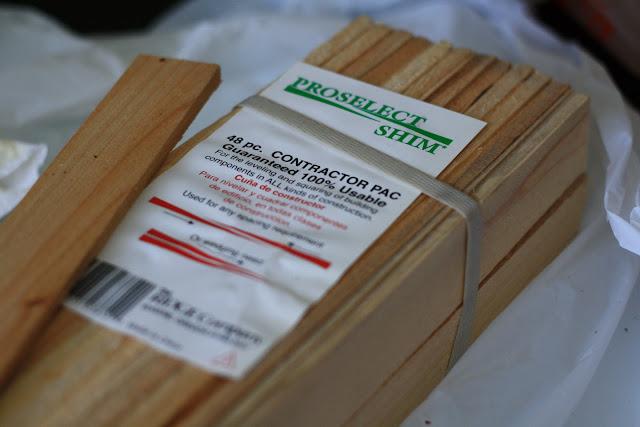
These are the wood shims I bought. They come in a pack of 48 for about $4 per pack. They sell shorter ones if you are making a smaller mirror but I wanted ours to be rather large so I went for the 18" ones.
Following the tutorial, I went ahead and glued the shims in groups of 5 and 7 like so
I used the clamps to make sure they were secure and worked on it here and there, between other projects and baking, giving the glue time to cure. I decided I wanted the mirror to have a dark stain so I used the leftover stain from our banister project and stained one side (the other side will be against the wall)
Obviously I didn't even stain the whole group since I knew the mirror would cover it anyway!
Then I arranged the shims how I wanted them
Flipped them over and glued a piece of plywood to the back. Then B used an entire tube of glue plus some and put a bunch of heavy stuff on there (yes, baseballs are so heavy, right?!) overnight.
The next morning we glued the mirror to the front and let it sit for a few hours (no pics, sorry) Then they attached the hooks to the back and hung it up on the wall.
And here she is again in all her sunburst-y glory!
I love how it turned out! It is pretty big and quite heavy but it's perfect on that wall. I kinda wanna make another smaller version for our bedroom...shhh, don't tell B!


5 comments:
That looks awesome!
awesome!!!!
Absolutely gorgeous:) You did a wonderful job and I love the darker color as well!
Wow that looks so good! You did an amazing job :) I want one! I'll have to try it, it's seriously gorgeous!
I LOVE this!! It looks so expensive, great job!! Im pinning this so I can try it out. I have a blank wall in my bedroom that this would be perfect for. Thanks for sharing!!
Post a Comment