Showing posts with label crafts. Show all posts

Thursday, April 14, 2011

Lamp Shade Re-Do

This post is late but hey, better late than never. Anyway, I told you in this post about the lamp shade re-do that I completed for A's nursery. Here's a quick glimpse at how it all happened.

I found this really cute lamp in the As-Is section at Ikea and was so excited. I love glass lamps but even at Ikea they can be pretty pricey. This bad boy however was only $3! Score! (I should have known at the time that there was a reason it was so cheap but more on that later). Anyway I brought it home where it sat in her room for forever a year 8 months. I had imagined recovering her lamp shade using the fabrics in her room but I never quite got around to it. When I finally found some motivation to finish it, I realized I didn't just want a plain shade so I decided to add some ruffles to it because who doesn't love ruffles?!

First I cut strips of fabric about 2 inches wide (the width you cut will depend on whether or not you want finished edges). I decided to go with a finished edge so I ironed both edges under. You can sew the edges down (or use interfacing to have them stick) or just leave them as is if you're lazy like me! You can also leave the edges un-ironed (is that a word?) for a more shabby look.


Anyway after you decide how you want your edges, set your machine to the longest stitch length and sew a straight line through the center of your strip. Now I know there is a ruffler foot attachment that you can buy and avoid this whole process but I don't have one so this is how I roll.


When you sew your strip be sure not to back stitch at all and to leave a couple of inches extra thread at the end. Take your strip and start pulling the top thread out while at the same time pushing your fabric in the opposite direction, causing it to ruffle. Continue pulling out the top thread until your strip of fabric is as ruffled as you like. Tie a knot at the end to keep it from coming undone and you're finished.


I used hot glue to attach the ruffles to the shade, starting at the bottom and working my way to the top. If you look closely you'll notice I gave up on the finished edges except for the top and bottom. It was taking too long and I figured it added to the charm of the shade.


This project wasn't very difficult just very time consuming because of all the ruffles I had to make. I was so excited when it was finished, even more excited to put it together and finally add it to the nursery. Imagine my disappointment when I tried to place the shade on the lamp base only to discover that one (or more) of the metal prongs was missing (now I know why it was so cheap)! The shade sits on there but leans to one side or the other. Fail! I was way too irritated to figure out a way to fix it so I just put it in her room and leaned it up against the curtains. Who's gonna know? Other than all of you?!


Yes, I'll fix it one of these days...maybe right about the time I get her name up on the wall! Ha.

Wednesday, March 09, 2011

Another Creative Outlet

Those of you who have been reading this crazy blog for a while know that I like doing projects that allow me to be somewhat creative, whether it's home decor or sewing or DIY projects. Well, I recently added yet another crafty/projecty task to my repertoire. Thanks to my friend Mandy, I have started a scrapbook for baby girl.

Uh oh.

I've always been intrigued by the scrapbooking world but never wanted to be a part of it because I know that it can be expensive and addicting and time consuming! I always steered clear of those aisles in Joann's that had all the little decals and stickers and paper because I knew once I peeked inside, I would be sucked in!

Then it happened.

Mandy (who is absolutely obsessed crazy about in love with paper supplies and crafts) started a scrapbook for Jack and I thought it was so cute and something Anayah would love to have (sure mom, whatever you say) one day. So I thought maybe I would put together a small one just documenting the big events of her first year, and that's it. We were at Joann's one day and I found this small book and these two packets of decals. Mandy has a TON of other scrapbooking supplies so she said I could use whatever she had and didn't need to buy anything else. Pretty cool, I thought, and not so expensive. I can totally do this.


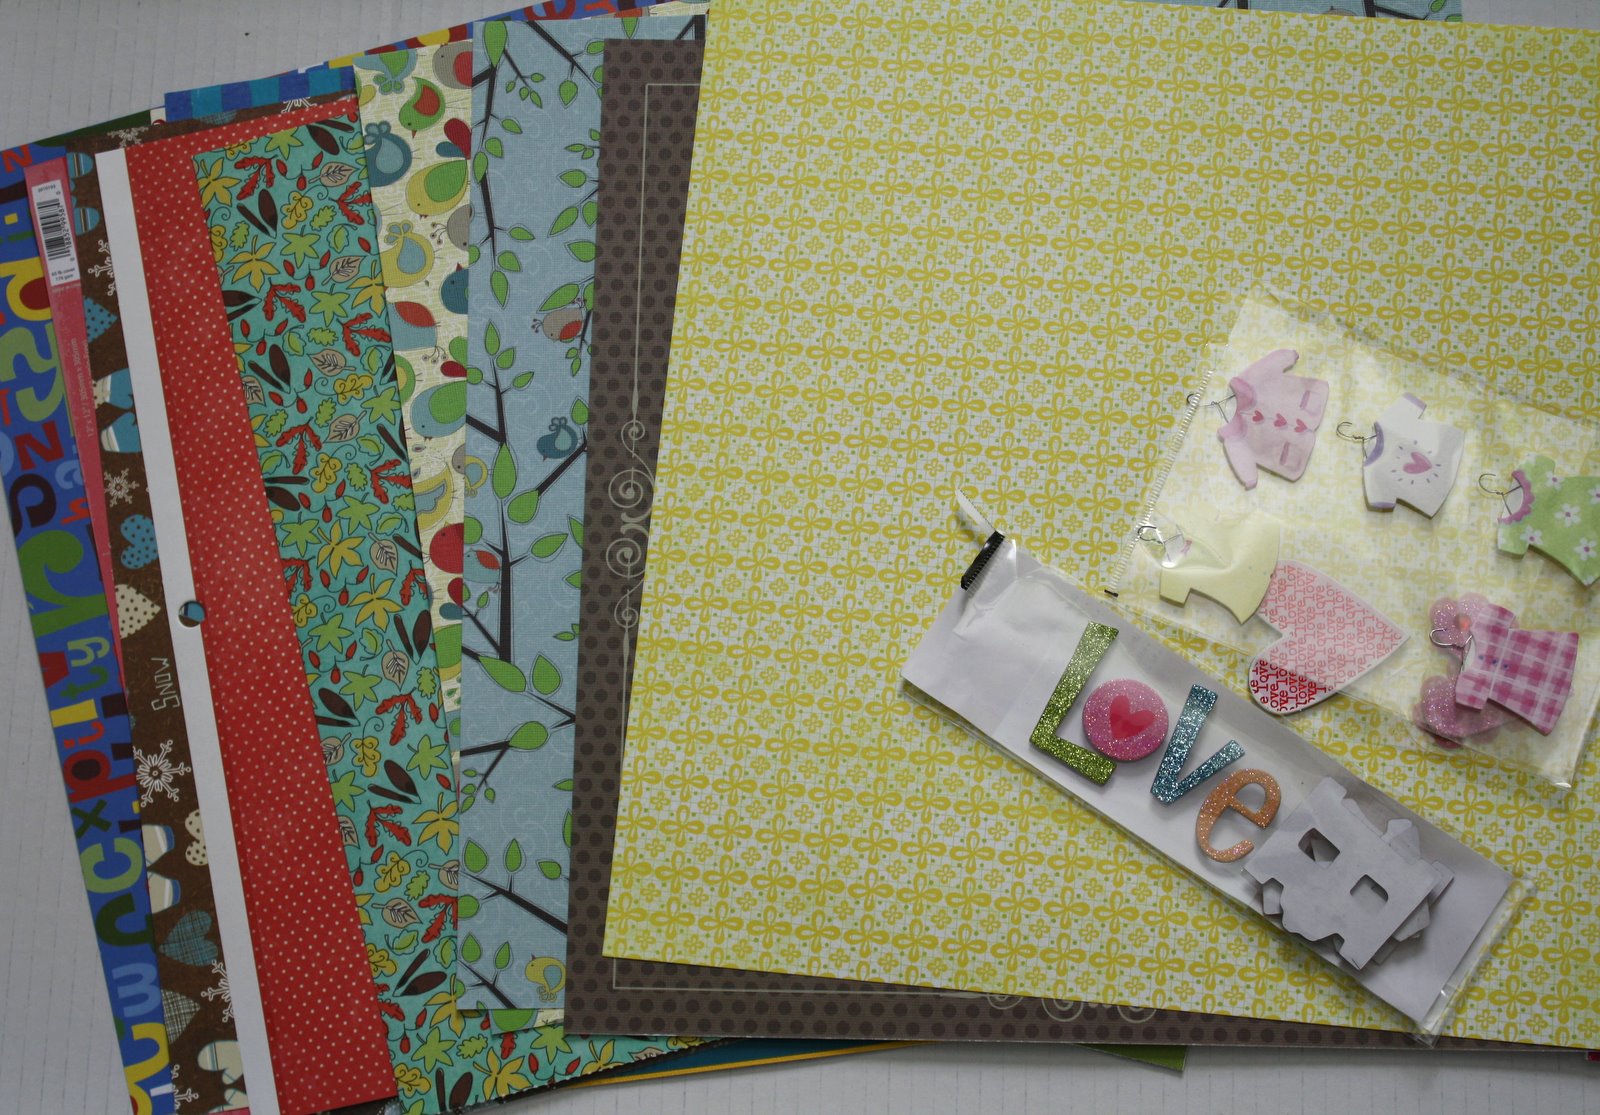
 Ha! Once I started going through all the supplies Mandy had and got to see all the fun paper and stickers and decals, I could feel myself getting sucked in. I ignored the tiny voice in my head that was screaming "retreat, retreat!" and continued to pick out stuff I thought was cute and would look good in A's future scrapbook. After a few minutes, I had hoarded saved this pile of stuff for the scrapbook I had yet to start.


 Hmm, that small scrapbook I bought doesn't seem like it will be big enough for all this fun stuff! I think I might have to buy a bigger one. And apparently I needed a few more packs of "stuff" to fill this bigger book.


 Yikes, I think I've officially crossed over to the dark side. Someone pull me back.

Wednesday, December 08, 2010

Christmas Crafts

I'm sure you've seen some fun holiday crafts floating around blog land these days. This ornament tree is one of my favorites. It's simple and festive and so shiny!
And super easy to make! Here's how:

Start with some foam cones. You can find them at Michael's or I got mine at the Dollar Tree. They come in different sizes. The ones I got at DT are much smaller than the ones at Michael's but much cheaper too. 
I also got some foam discs used for floral arrangements to add some height to the cones

Then I got a bunch of ornaments (different sizes and colors or whatever floats your boat). Most of them I bought last year after Christmas on clearance...or from the Dollar Tree (again, I know but it's a fab place!)

Pull the tops off the ornaments and gently push them into the cones. You can arrange them in a pattern or just place them randomly all over. Use a dab of hot glue to secure them. 

Now you can just leave it as is and it will be good to go.


Or you can take some garland, cut small pieces, and stuff them in the spaces between the ornaments to fill the holes and make it appear fuller

Now I have a couple more to do then off to finish the Christmas decor. Happy crafting!

Tuesday, November 02, 2010

Back In Business

Now that baby girl is on a pseudo-schedule, I have a little bit more time to get back to doing projects and back to sewing a few things here and there.

I just finished this fun shirt for B-man...you can read all about the story here.
 

I made some pillows for Erika's new place,
(no pics right  now)

I've also made a couple more headbands,


And finished up these burp cloths for part of a baby shower gift. 

 Oh, and I made my first diaper cake! 

Guess I missed using the creative side of my brain. Good thing a few of my friends are pregnant. I'll get to work on more projects for their new little ones! Is it too early to start baby girl on projects too? :)

Friday, October 22, 2010

Fabric Flowers

I'm jumping on the fabric flower bandwagon.

Why not? They're everywhere these days, not to mention cute, and as I've recently discovered, very easy to make. I found a couple of tutorials that do a great job of explaining how to make these bad boys. My Sparkle has an easy tutorial to follow, Shanty2Chic has this option as well as this option, and Simple Analogy has a sewn option should you feel like busting out the needle and thread. I took all the info from these tutorials and mostly followed the instructions but pretty much making it up as I went along.

I started with a long strip of fabric...mine was about 16 inches long and about 2-3inches wide.

I folded it in half, glued it down, and rolled it a few times to get it started...


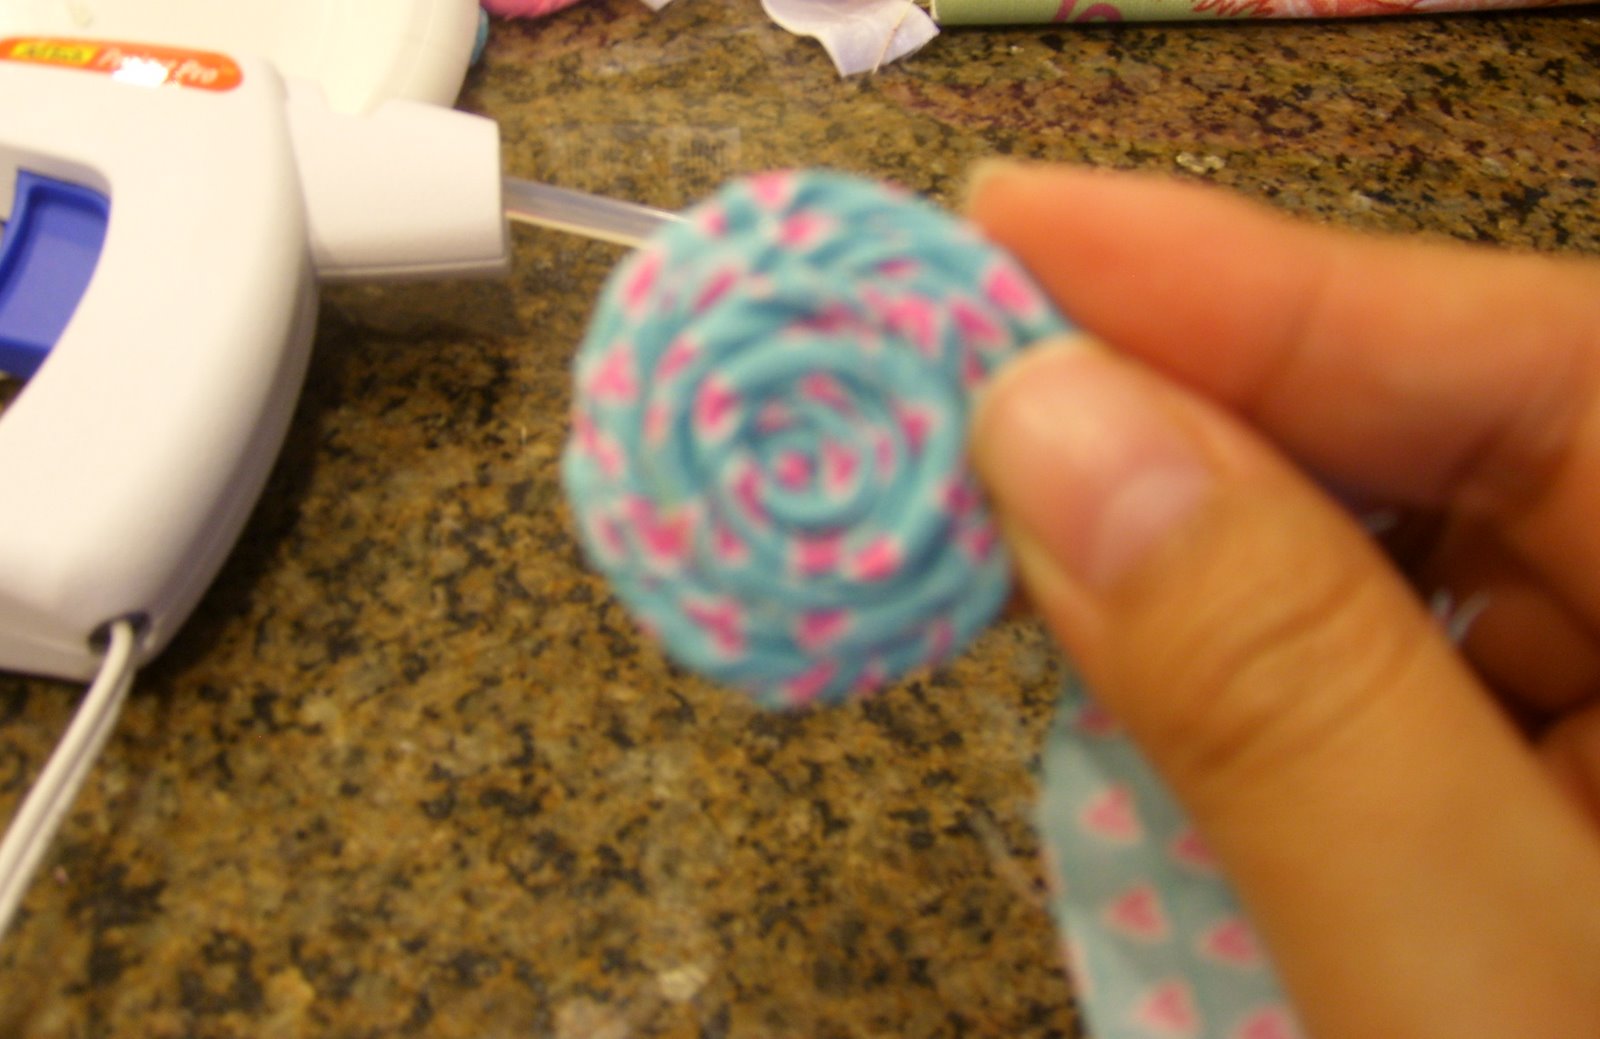
Then I started twisting the fabric as I rolled it around itself. I used a dot of glue every now and then to secure the layers (the tightness of the twisted fabric will determine the fullness of the flower). I kept going around and around until I got the size I wanted.


I glued them to the stretchy fabric I was using as the headband (I found the white material at Joann's in the lace aisle) and VOILA! something cute to stick on this cutie pie...

Oh the possibilities are endless! I'm sure you'll see them popping up on other projects I'm working on.
Related Posts Plugin for WordPress, Blogger...