I'm still on the everlasting quest to get our home decorated. Perhaps some day we will be finished. Until then, here is the latest project I did to bring in some life to our entry way wall. Now the wall is VERY tall, umm somewhere around 30 feet...just kidding...it's more like 15 feet tall and 12 feet wide. I wanted a bold statement on the wall since it's the first thing you see when you walk in the house, plus the wall would just look so bare with nothing on it. Bri suggested a mural of himself playing baseball...umm, thanks, but no thanks. I looked in to big pieces of canvas art but they were just too darn expensive so I figured it was time to get creative.
(big wall)
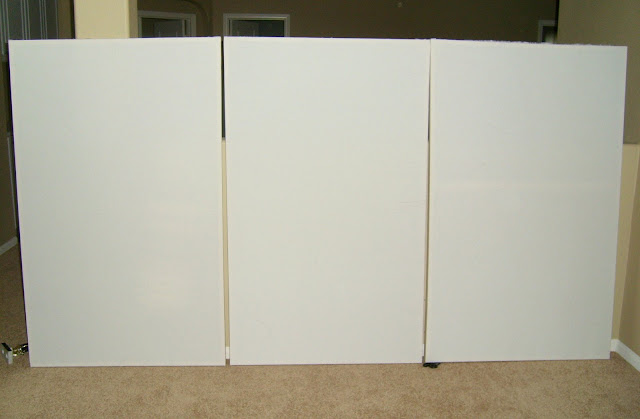
I did more "research" for ways to make inexpensive wall art and finally stumbled across this project at All Things Thrifty. Aren't they so cute? Her whole site is full of great ideas...just wish I had more time to try them all. Her wall art consisted of three panels of wood that her husband cut the design out of then she backed with fabric. A bit ambitious for us rookie tool users so I went in a slightly different direction.First I had my dad make us these frames (they measure 3x5 feet each) and I bought some heavy fabric (similar to canvas) at Joann's...40% off baby...sa-weet!
Then Bri and I
Next step was to trace the pattern on to the frames. I used the template I found here and borrowed a projector from school to make the image large enough for the canvases. Once the print was traced, I painted the picture with black paint and let it dry. Now our bare wall has a little bit of life with these bad boys:
(paint may still be slightly wet...what can I say, I have no patience)
Pretty cool eh? Total cost for this project was about $65 which is still kinda pricey, but definitely less than what I would have paid to buy three pictures of that size. Here's another look.Before (from the landing on the stairs):
After (from the landing on the stairs):
These pictures don't really do justice to the actual size of these suckers. To put it into perspective, each piece is almost as tall as me! Yeah, yeah, I'm not that tall but whatever. They are life-size. Love it though! :) I know I was supposed to show you the progress on the laundry room but I may have gotten a bit distracted by this project. Oops. More on the laundry room another day...


14 comments:
WOAH!!!!!!!!!!!!!! So cool! I had seen that tutorial/post before from All things thrifty awhile ago but it looked WAY too hard! I love how you altered it and made it look just as good! Well done! :) I see why you were so excited, that's a BIG project!!!! Man, you're good! don't be surprised if you see a replica at my house (MUCH smaller version of course)...kidding!!! :p
one word: amazing.
oh and i LOVE black and white!!
Yeah, srsly! it's awesome! good job again Handy Mani :)
WOW - so impressed! I remember the wall - its enormous and that looks like the PERFECT thing to put there. I love it!
oops, I meant *Mandi* LOL!!!
Wow, you're truly talented...I think you may have missed your calling designing and selling things.
I love it and love the new name, Handy Mandi! :-) Suits you.
I am visiting from All Things Thrifty. I love your wall art and would love to see a picture with your table dressed?
It looks amazing! i saw this on All THings THrifty and i agree that i looked to hard to make. So really love how you did it because now i think i can actually do it! Thanks again for posting this!
LOVE it! I too, saw you through All Things Thrifty and this approach looks much easier. I have a question though, what kind of paint did you use?
Thanks for all the love!
Erica- I just used interior semi-gloss black paint...don't remember the brand...and painted onto the white fabric. Hope that helps!
what paint did you use? anything specific?
Awesome! I think when I try it, it will be on a much smaller scale! :)
Empty wall not looks good at home, they reduce the attraction from of interior, you have done great work and make this beautiful wall art by own hand, i appreciate your work. keep it up.
bespoke art
Post a Comment